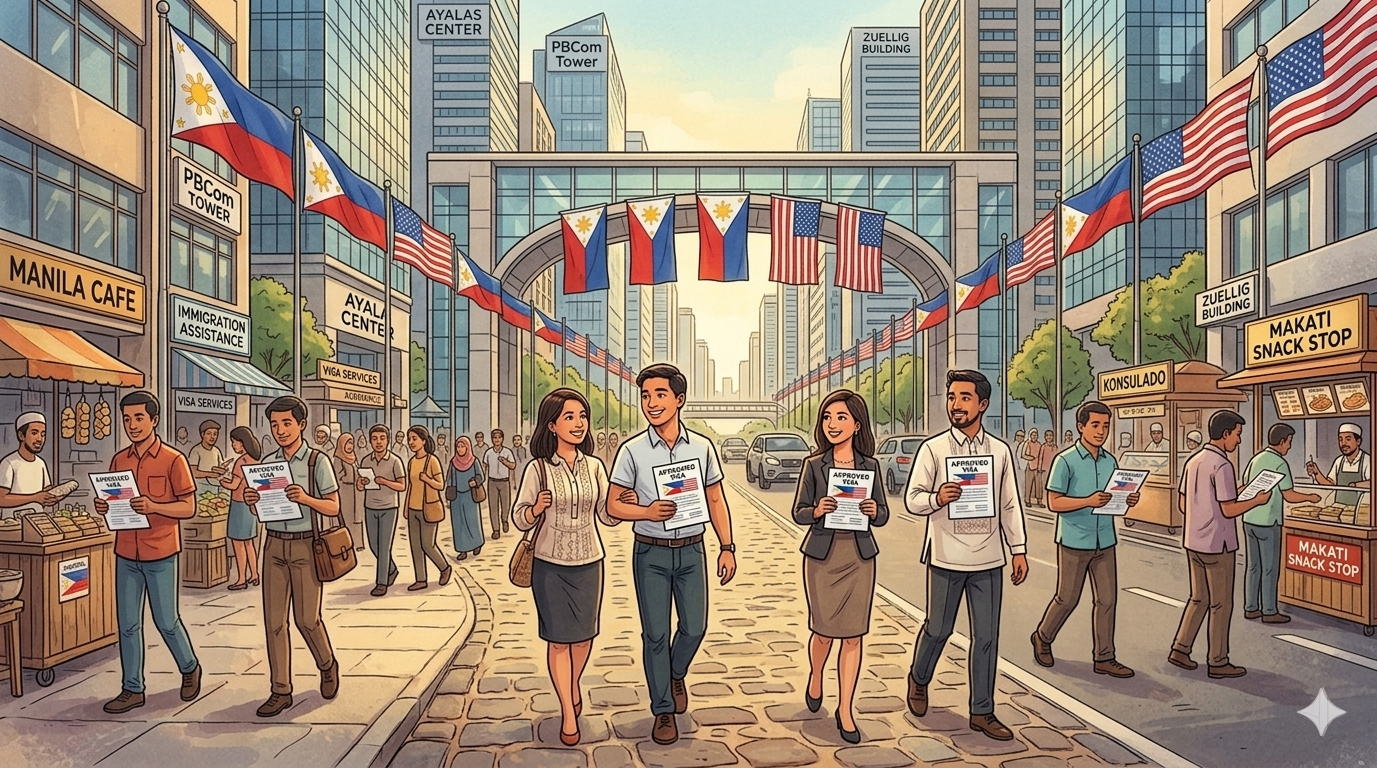
Your Ultimate Guide: How to Apply for a U.S. Visa from the Philippines
Dreaming of the bright lights of Times Square, the natural beauty of Yosemite, or a long-awaited reunion with family in the States? For many Filipinos, obtaining a U.S. visa is the first major step toward making those dreams a reality. While the process is known for being rigorous, being well-prepared and organized can significantly increase your chances of success.
This comprehensive guide will walk you through the step-by-step process of applying for a U.S. Non-Immigrant Visa (B1/B2) from the Philippines.
Step 1: Determine Your Visa Type
Before you begin your application, you must identify which visa category fits your purpose of travel. The most common is the B1/B2 Visitor Visa:
- B1: For business, attending conferences, or settling estates.
- B2: For tourism, vacation, or visiting friends and relatives.
Most applicants apply for a combined B1/B2 visa, which covers both business and pleasure.
Step 2: Pay the Visa Application Fee
The non-refundable Machine Readable Visa (MRV) application fee for B1/B2 visas is currently $185 USD (payable in Philippine Pesos at the current exchange rate dictated by the embassy). There are two primary ways to pay:
- Over-the-counter: Pay at any RCBC branch. You must print the applicable U.S. visa deposit slip from the service provider's website.
- Online Payment: Use PesoNet or InstaPay through the official portal.
Note: Keep your receipt! You will need the receipt number to schedule your appointment.
Step 3: Complete the DS-160 Form
The DS-160 (Online Non-immigrant Visa Application) is the most critical part of your application. Every applicant must have their own DS-160 form.
- Access the form via the Consular Electronic Application Center (CEAC) website.
- Be Honest: Ensure all information is accurate and matches your passport.
- Save Often: The session times out quickly. Note down your Application ID and security question answers.
- Upload a Photo: You will need a digital 2x2 inch photo taken within the last six months against a white background.
Step 4: Create a Profile and Schedule Your Interview
Once you have your DS-160 confirmation number and your payment receipt, create an account on the U.S. Travel Docs Philippines website.
Follow the prompts to schedule two appointments:
- VAC Appointment: For your photo and fingerprints at the Visa Application Center.
- Consular Interview: For your actual interview with a consul at the U.S. Embassy in Manila.
Step 5: Prepare Your Supporting Documents
While the U.S. visa process is primarily interview-based, having the right documents ready to prove your "strong ties" to the Philippines is essential. Prepare the following:
- Current and Old Passports: Your passport must be valid for at least six months beyond your intended stay.
- DS-160 Confirmation Page: With the barcode.
- Appointment Confirmation Page.
- Proof of Income/Financial Capacity: ITR, bank certificates, and payslips.
- Employment/Business Proof: Certificate of Employment or DTI/SEC registration.
- Travel Itinerary: A general plan of your visit (do not book flights until the visa is approved).
Step 6: Attend Your Interview
The interview is held at the U.S. Embassy in Manila, located along Roxas Boulevard. Arrive no more than 15 minutes before your scheduled time.
- Security: Electronic devices (including mobile phones and smartwatches) are strictly prohibited inside the embassy.
- The Interview: Be concise and truthful. The consul will ask about your travel purpose, your job in the Philippines, and who will be paying for the trip.
- Result: In most cases, you will know if your visa is approved or denied immediately after the interview.
Step 7: Passport Delivery
If approved, the officer will keep your passport for processing. You can choose to have it delivered via courier (LBC) to your home/office or pick it up at a designated location. This usually takes 3 to 7 business days.
Helpful Resources
- Official U.S. Embassy in the Philippines Website
- DS-160 Online Application Portal
- U.S. Travel Docs Step-by-Step Guide
Disclaimer: This article is for informational purposes only and does not constitute legal advice. Visa requirements, fees, and procedures are subject to change by the U.S. Department of State and the U.S. Embassy without prior notice. Always refer to the official U.S. Travel Docs website for the most current information. The author is not affiliated with the U.S. Embassy or any government agency.